When researching insulation, there were SO many options. In the end, I decided that spray foam insulation was probably my best option for sound, flexibility and coverage. The fact that it didn't need to be sealed in to look nice, in the case of the ceiling, was an absolute dream. I hate hanging drywall, especially on ceilings, and any other covering would have been cost prohibitive.
I got a quote from a local company, and their recommendation to save some cash was to make my 2x4 trusses 5.5" deep by just nailing on some 2x6's to the sides of all of them. That way, they could use 5" of open cell foam on the ceiling instead of 3" of closed cell. Being the scavenger I am, I went searching for reclaimed 2x6's, and found them in the form of a free deck that someone tore out, where the surface was done in 2x6's instead of standard deck boards.

The owners allowed me to cut onsite so I didn't have to haul 16' boards home, so I cut them all into 8' lengths and loaded them into the trailer. I then had to remove all the nails, measure the joist length and determine the angle at the top to get them all cut properly. Because each joist wasn't exactly the same as the others, I had to measure each time to be sure I was getting a decent fit.


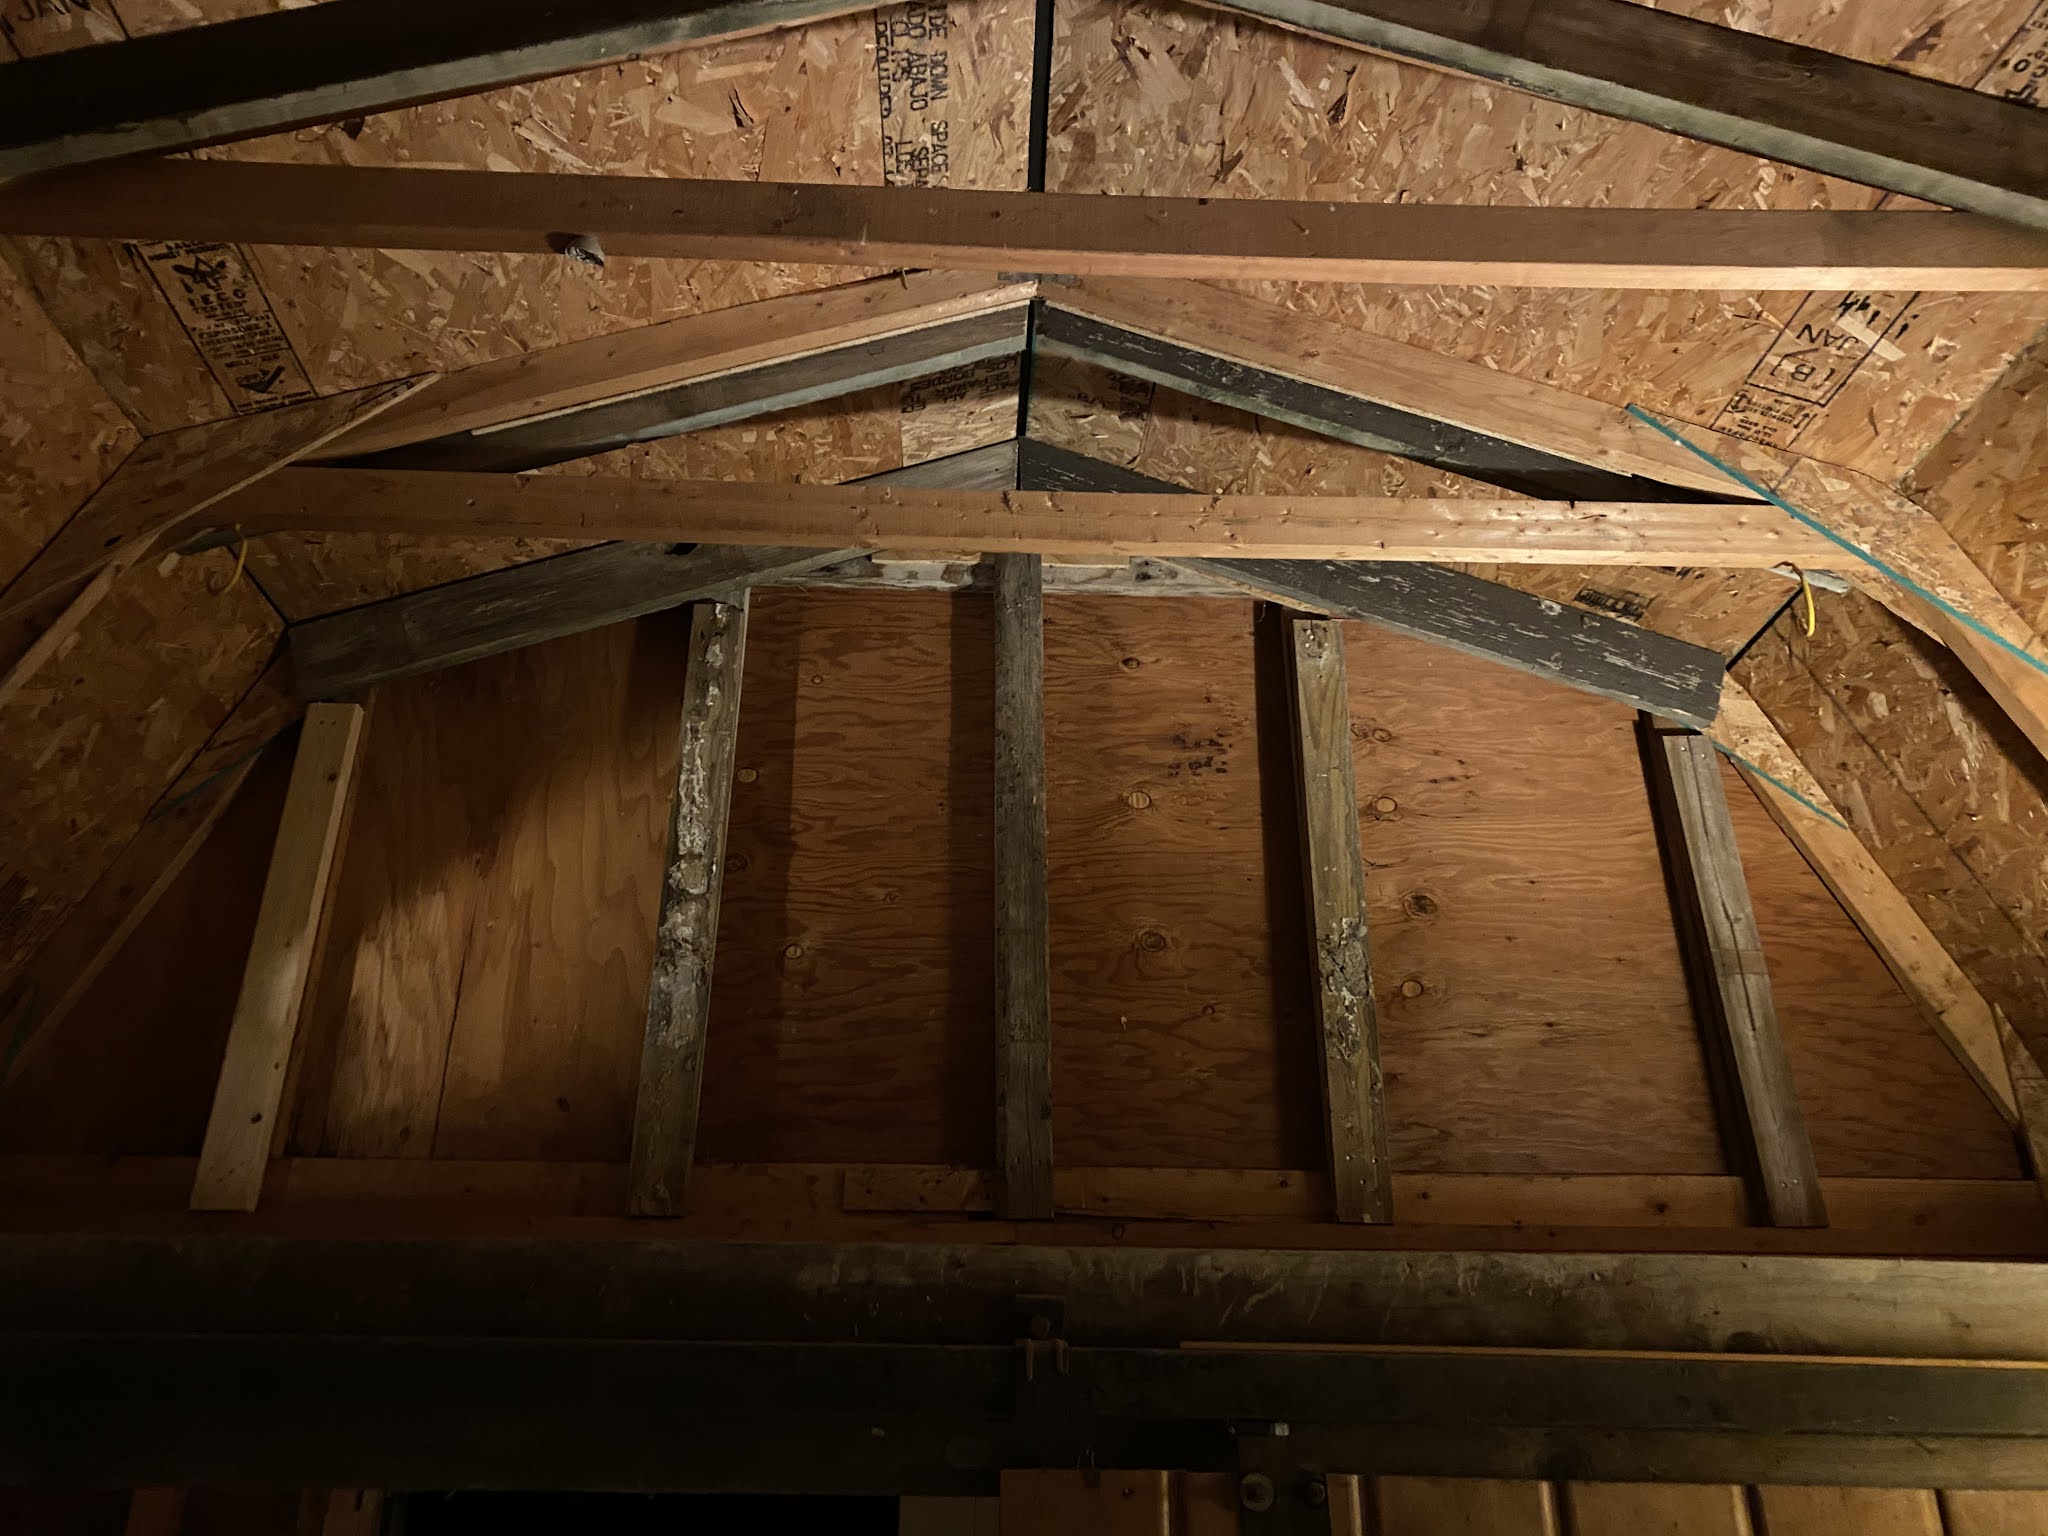
Along with adding all the 2x6's, you'll notice I also had to go around and patch up any cracks or holes that the foam might escape through. That included vents at the top of the shed, holes in the steel on the back of the barn, cracks between barn siding, the gaps between joists where it meets the wall, etc. The whole structure needed to be sealed.
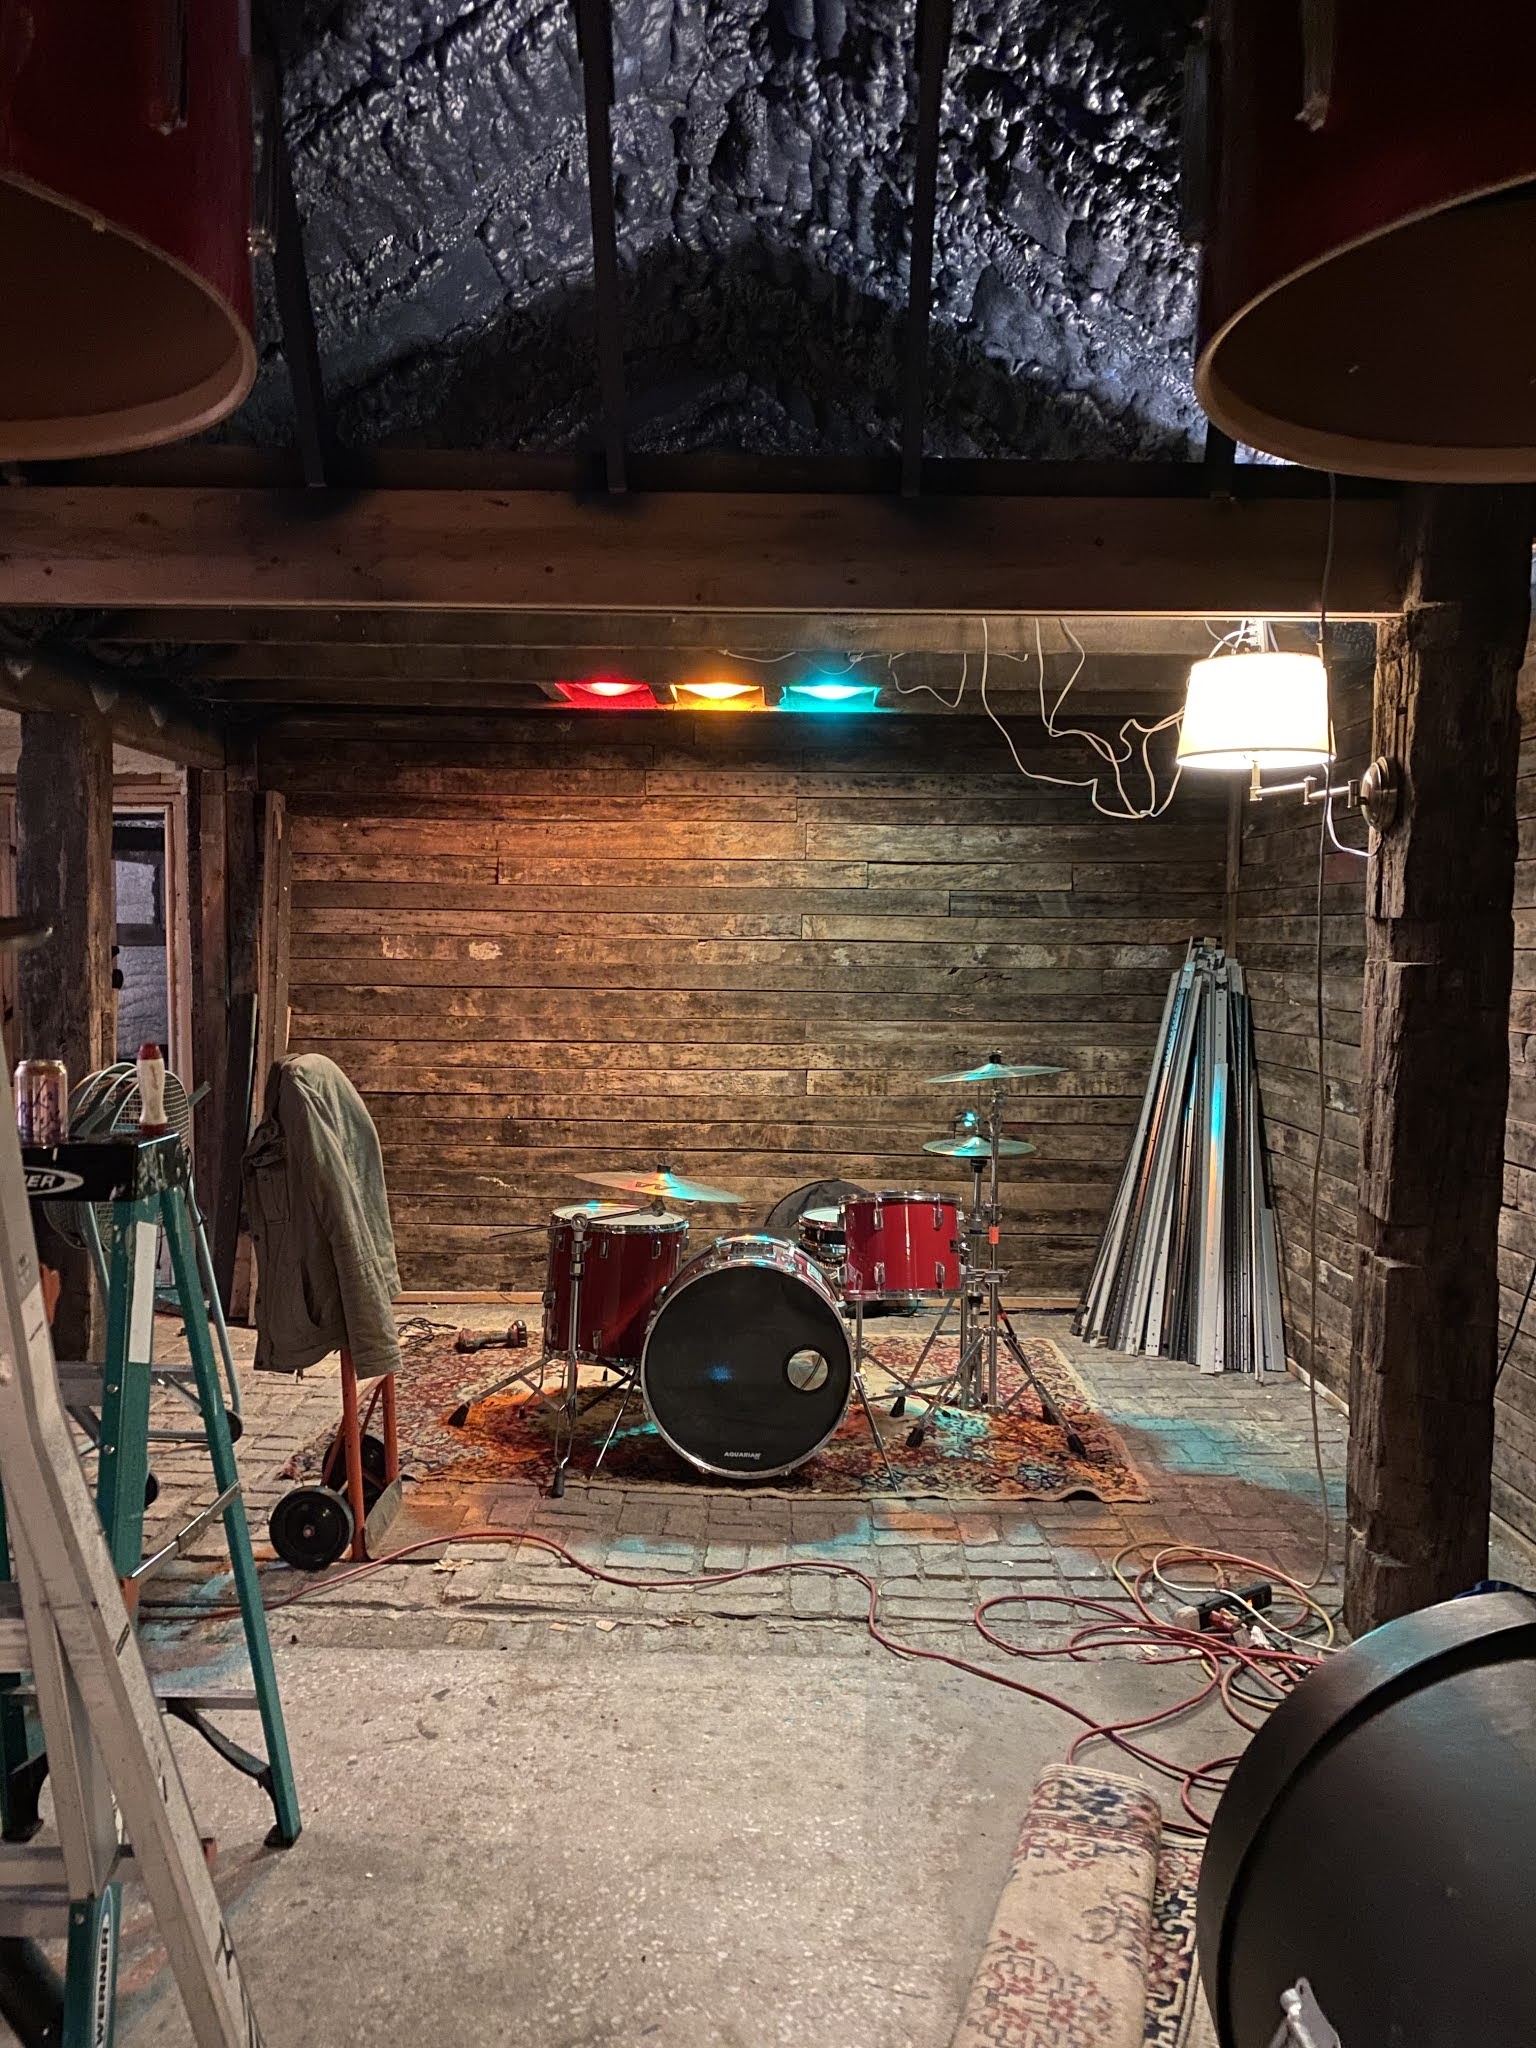
The spray went in 2 sessions over 2 days, and when it was complete, I was ecstatic at the results.