So this spring, before the underbrush started, I took a walk marking trees to determine the path, and started pulling saplings and brush to create a solid path. It was great, and reignited an idea we had when the kids were first born - build a treehouse. The unfortunate thing is that red pines are not the sturdiest, and once they die, they disintegrate so quickly. So the treehouse dream turned to a cabin dream.
It started with dozens of sketches and a plot at the top of the hill.
I wanted to make it as cheaply as possible, using as much reclaimed materials as I could. I knew the frame had to be built with pressure treated wood and thought that putting the whole thing on blocks would be the quickest and cheapest way to build. I bought 6 cinder blocks and some 12' 2x6 treated boards and built a 6'x12' frame.
Regular exterior decks require a little gap between the boards for drainage, but since the floor would be inside-outside (3' for the porch, 9' for the inside of the cabin), I didn't want to put that gap in and allow plants & bugs to come up through the floor. Plus Ollie really wanted to make sure there was a lookout tower above the porch, so I knew there would be a floor above the porch, reducing the need for drainage. As a last precaution, I made sure to level the ground side-side, but angle the frame length-wise down a bit with the idea of water draining down toward the hill.
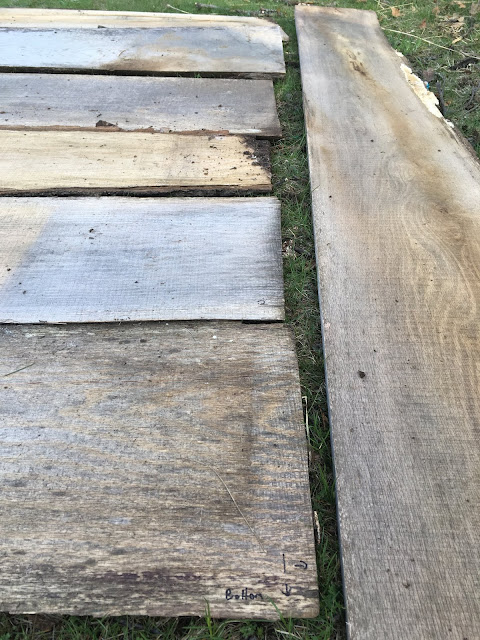
I was going to use some old live edge pieces I'd bought from Repocast for the flooring, but while this was happening, Becky's parents were replacing their deck with Trex, so they offered us their old deck boards to use as we wished. It was the perfect solution for decking and siding. I went and helped pull boards, then we strapped them to the roof and brought them home. Because their back deck is so shaded, we set about to power wash all the paint, dirt and moss off of the 50+ boards.
As a hoarder, I of course had a ton of 2x4's reclaimed from some house and sold at a Repocast auction, so I pulled those out of the shed, cut them up and started framing the walls with them. My father-in-law was a huge help in this regard. The intention was to build the bottom section 6' high and then build a 4' loft with a slant roof. Forgetting all of that, I built the bottom section 8', pushing the total height to 12'. WHOOPS.
For fasteners, I'm using exterior deck screws instead of nails. It's a bit more expensive, but easier to use with an impact driver instead of a hammer, since I don't own a pneumatic framing nailer. Once we got a side up, we used some scrap pieces of decking to create temporary bracing to hold it until we could tie in the back wall.
In keeping with the reclaimed idea, I also had two brand new crank-style windows that Becky's parents found on the side of the road that we'd been holding on to that were perfect for this project, so we planned them to be at the front and back of the cabin.
At this point, I wanted to wait to do the front wall until we bought a door so I would know the height/width to frame it in. Keep going with Vol. 2!


