Monday, August 25, 2014

0 Thrift Store Finds

I'm a thrift store addict. BUT, I'm have a manageable addiction. I'm luckily addicted only to the hunt, but not with the thrill of buying everything I can just cause it's a great deal. I can justify my purchases because I have a vision, and can let things go if they don't work out. In some cases I hoard, but there is always an eventual purge.

Last week, I found a tall end table for the front door for $15, a set of speakers for $12 and a pair of floating shelves for $10/ea, and they all had a place almost immediately.

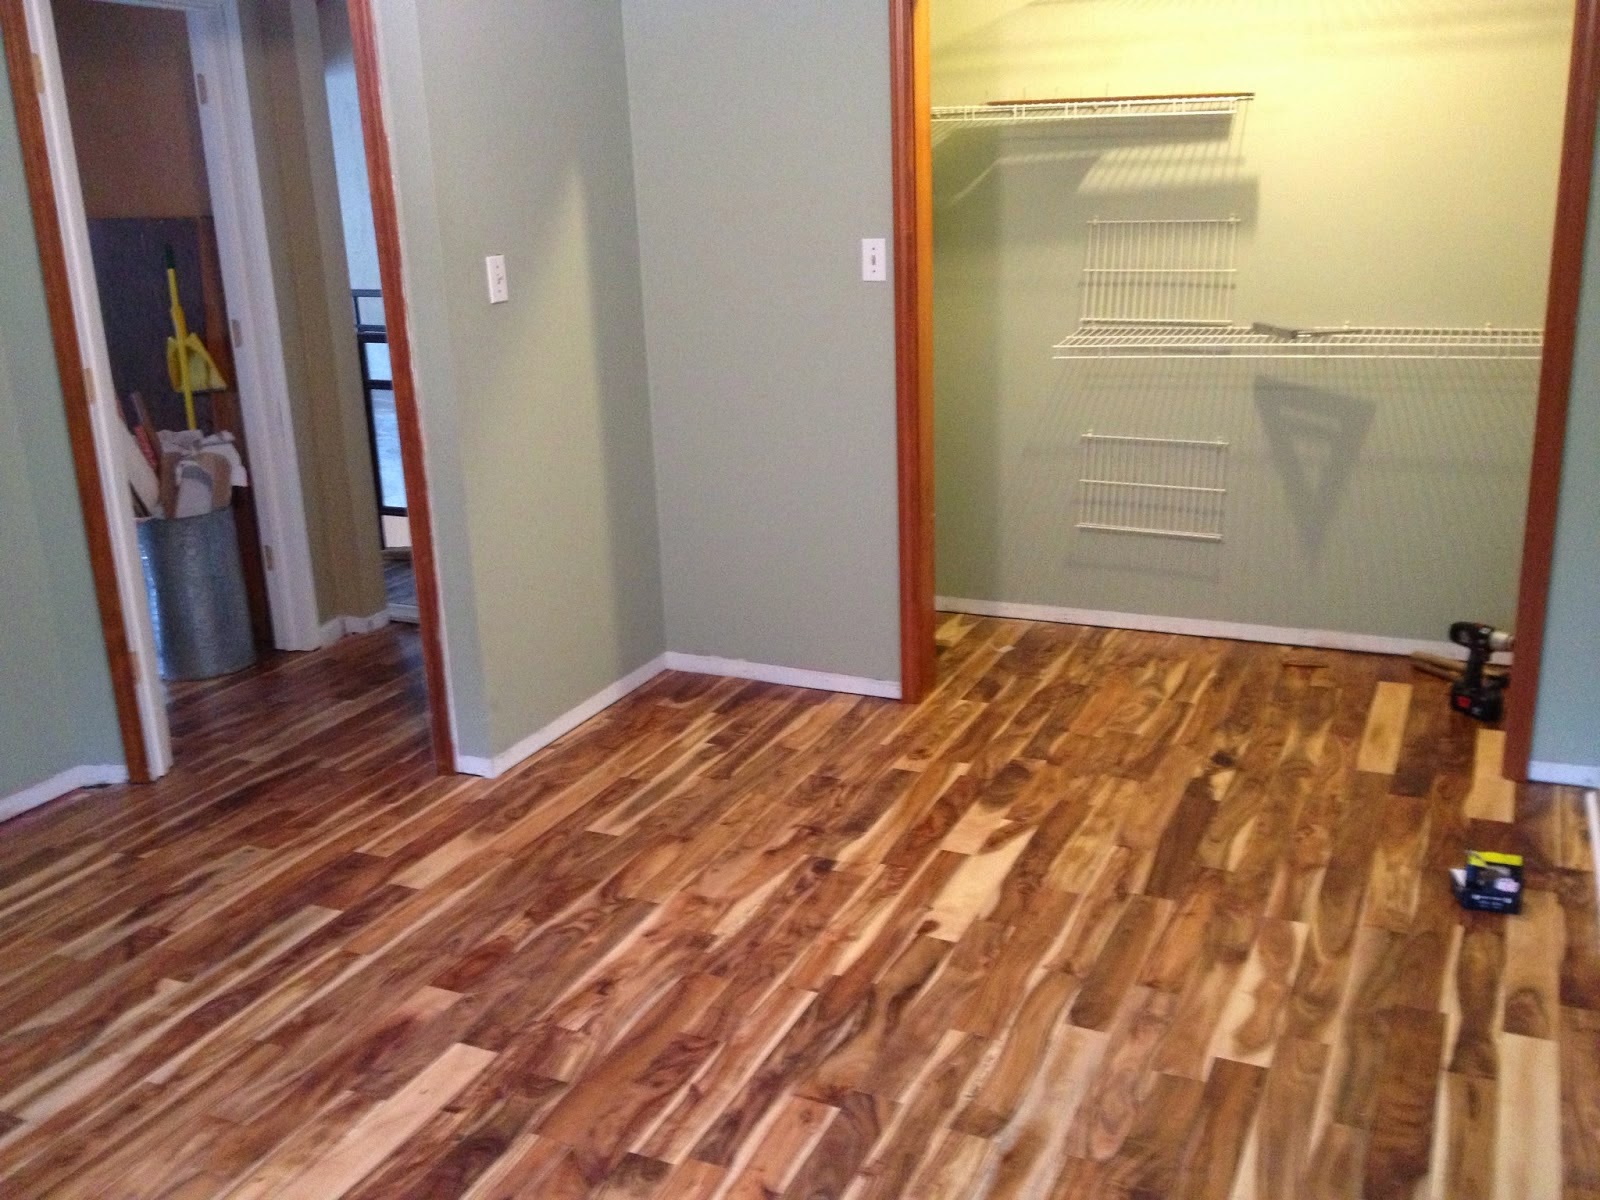
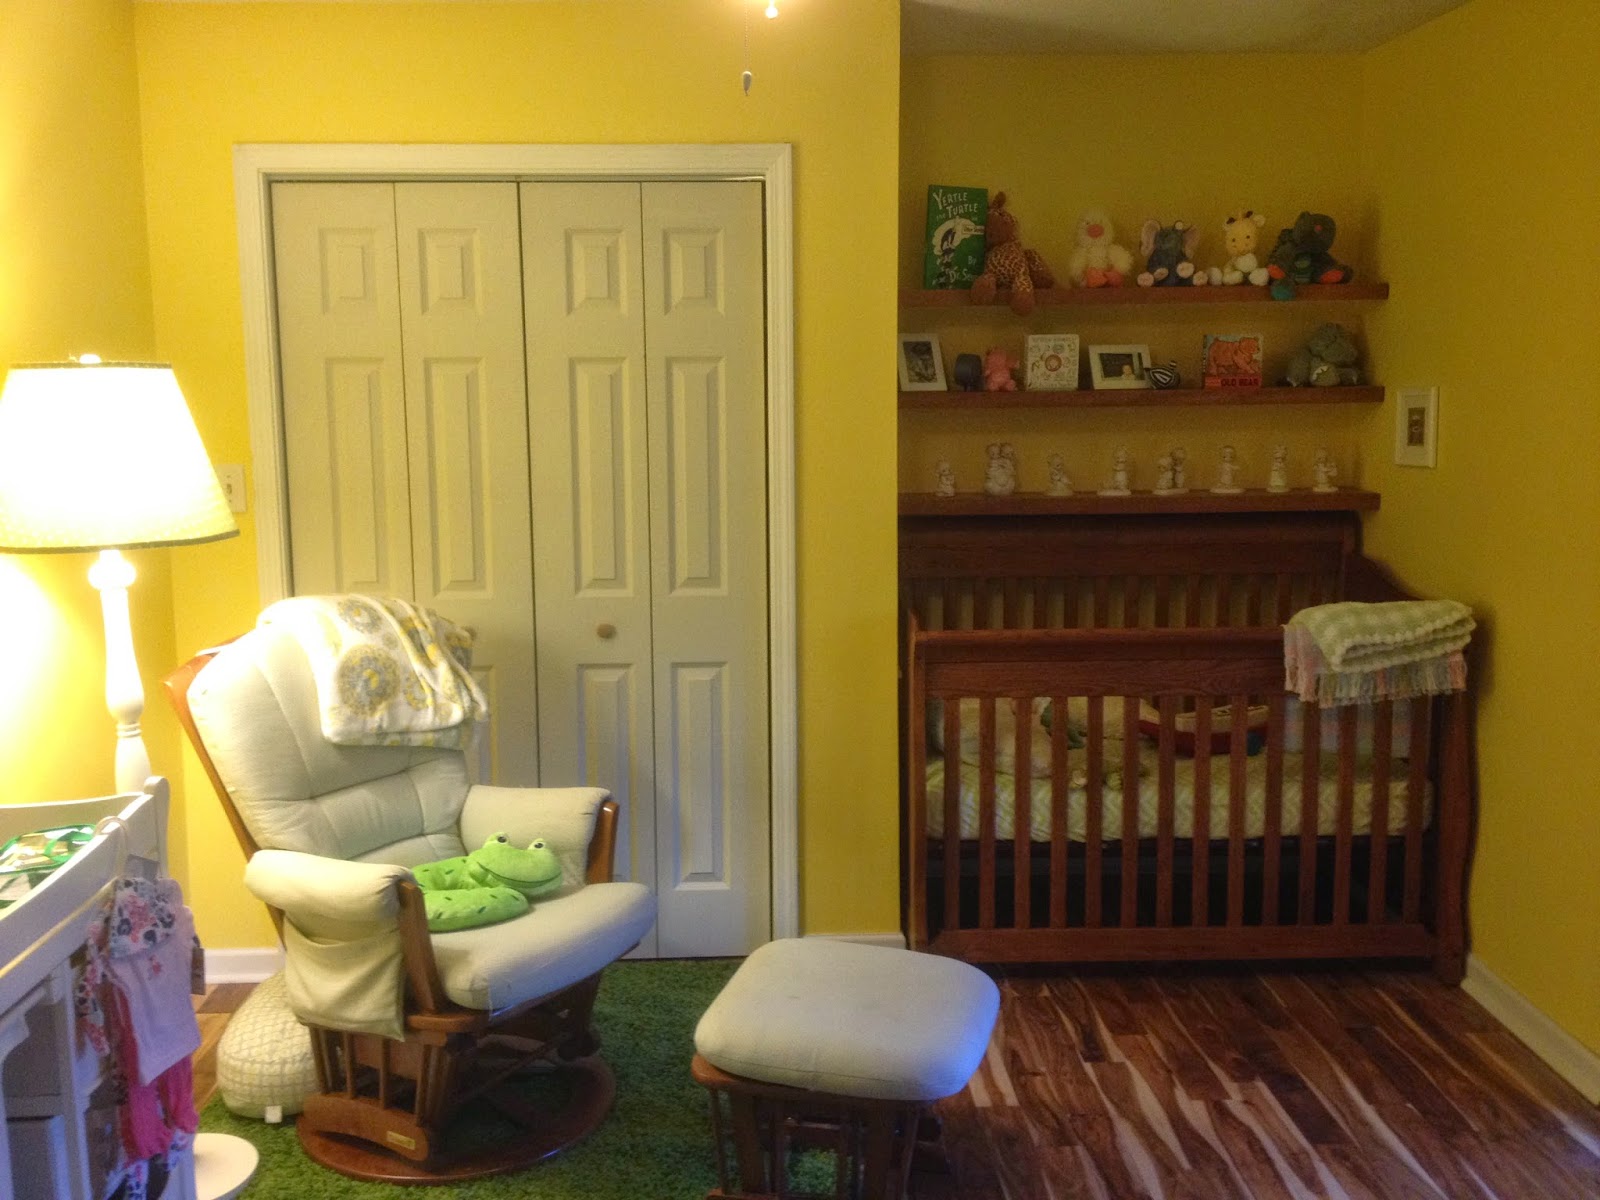
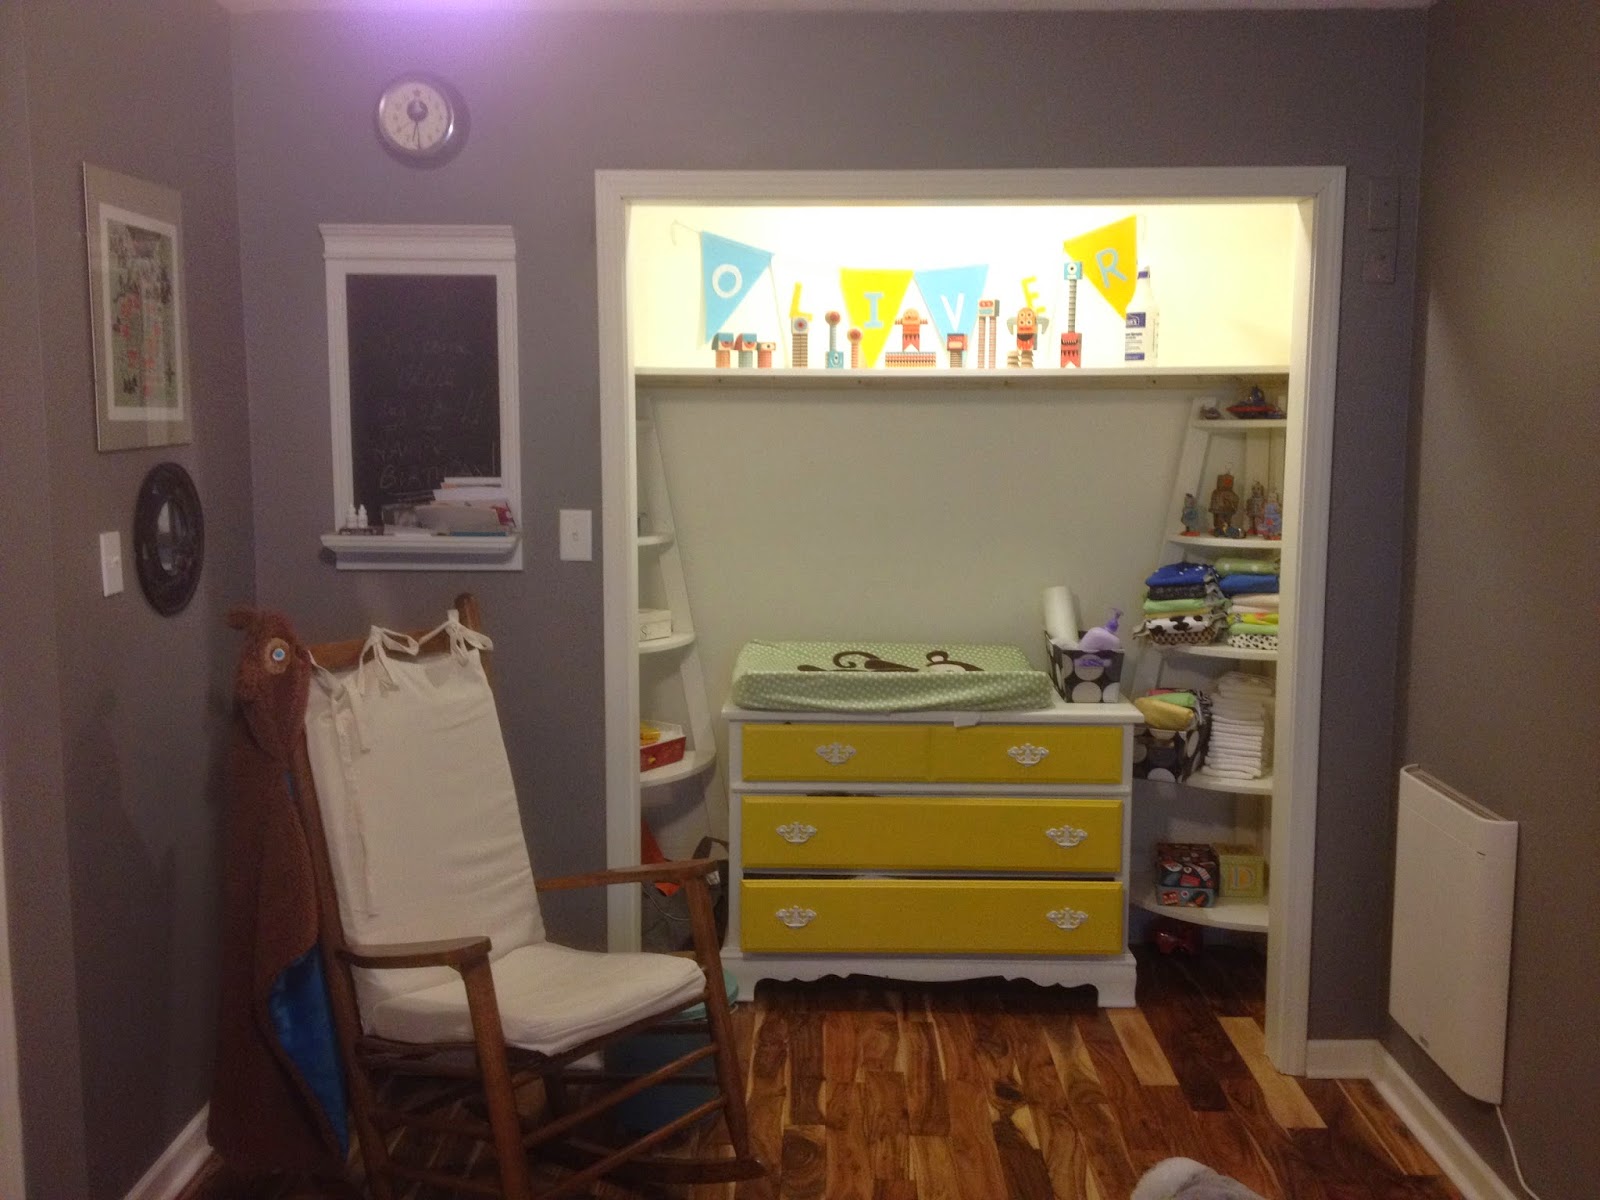
We were originally going to use the shelves in Ollie's room, but then we moved a bunch of stuff around, adding some furniture (including this mini hutch we got from one of Becky's coworkers), and ultimately not thinking they'd fit.


So then we thought maybe next to the mirror by the kitchen, but while I held them up on the wall, Becky thought it'd feel too crowded.


So we walked around the main floor, holding them up to different walls, trying to figure it out. THEN, I held them up in the little nook by the desk, and thought it was perfect.  I put a couple coats of polyurethane on them and put them up on the wall.

Then I remembered the speakers. They were shallow enough for these shelves (almost like they were meant for it), AND the location was such that the receiver for the stereo was right on the other side of the wall, so I could wire them up without showing any wires at all. It was destiny.

I put the speakers on the shelves, stepped back to make sure they were in the right locations, made a mark in the center (where the connections would be made to the back of the speakers), and measured. I measured up from the floor and over from the left wall, so that I had my coordinates. On the other side is speakers, records, and all sorts of other things I could drill right into if I wasn't careful. I took the same coordinates to the music room and made sure the coast was clear. I also made sure there was not a stud in either location - drilling right through a stud would be no good. Then I took a looooong 1/4" bit I had acquired somewhere along the way and drilled a hole straight through. If I didn't have such a bit, I could have measured really carefully and drill on both sides. I then took a disassembled coat hanger (since I don't have a fish tape), taped the speaker wire to the end of the coat hanger using electrical tape and guided it through the wall. Electrical tape is the best because it's sticky (but not too sticky), strong and thin enough to not add too much bulk.

I then attached the ends to the speakers, pulled the excess through, cut off what was not needed, and added to the receiver. Tested, and they both work wonderfully.


They have a little hollow vintage sound to them that is best for old country records, but not great for heavy bass, but for being small, I was surprised as to how great they actually sound. Mostly they look great!

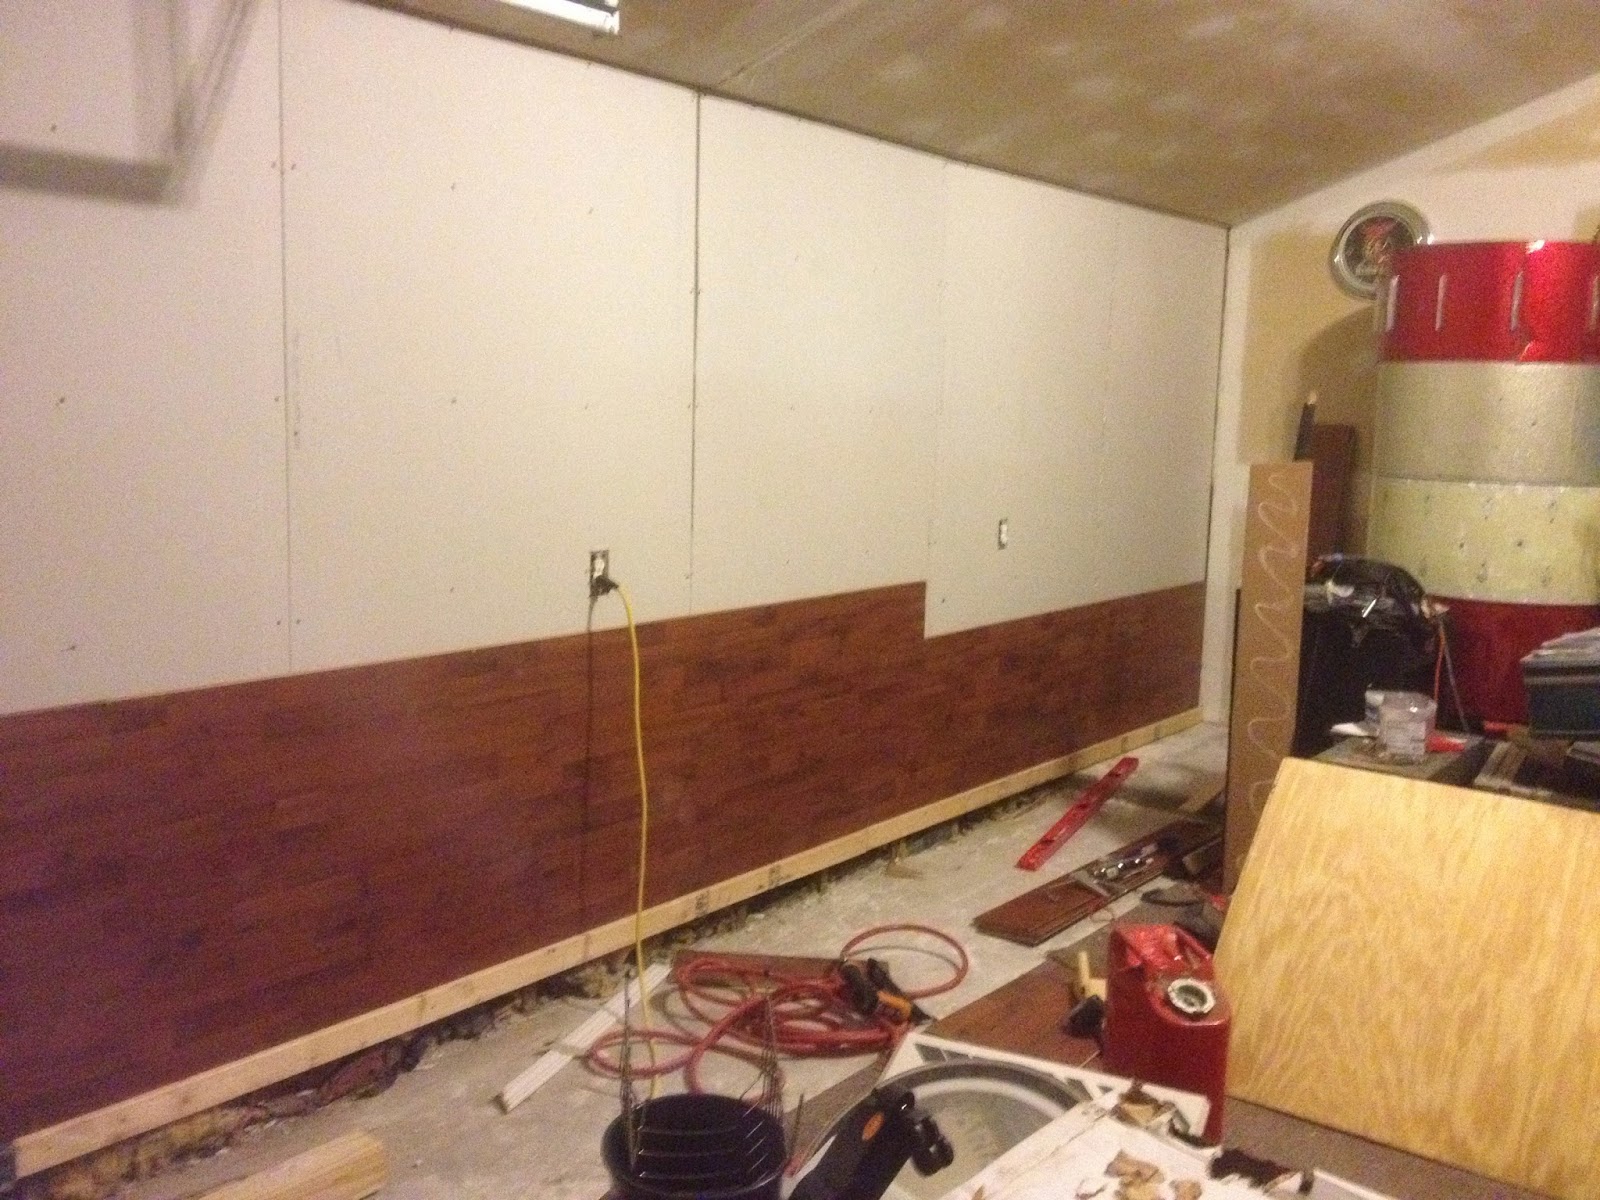
That started me on getting this little area more in order, so I finished off the bead board on the side of the stairs and added the baseboards. I also added a couple of frames next to the shelves to sort of round out that wall.


Once again I'll say that the bead board SHOULD HAVE gone on before the stair treads, so learn from my mistake if you ever have to do this. My work in this area will look okay, but it's not ideal, and it'll be one of those things that will haunt me every time I look at it.

We still need to paint the bead board and add some other little things, like this Pinterest idea I'm implementing:


We picked two up from IKEA, and I'm skipping the stain step and just adding a couple coats of poly to match the floating shelves.


Tuesday, August 19, 2014

0 Fix the Dang Roof!

In the band garage, we had some spattering of mold on the wall, which is why we tore the drywall out a couple weeks ago. Luckily it was just surface mold, but it was pretty obvious it came from some failures in the roof - the water running down the joists and onto the drywall. So I called up my good friend Larry, who's father, Andy, owns and operates Kole Roofing, and he said he and I could get it done in a couple of days on some weekend, so I waited for the call.

This past weekend, he finally had time, so my Friday and Saturday were spent on the roof of the garage!

PLEASE NOTE: this post is not meant as a how-to. This is one of those projects that is best left to the pros - I was assisting Larry, but by no means would I have done this myself. This was a pretty straight-forward repair with no flashing needed or anything like that. You may use this information to do small repairs, but do not attempt to reshingle your roof without the supervision of a professional. I've also recently had an acquaintance fall off a roof and break most of his body, so even if you get brave and want to attempt this, PLEASE be careful.  Alright, enough disclaimers.


The part of the roof we worked on is part of the original house, so there were two layers of shingles to remove. Judging by the amount of granules in the gutters, the top layer was really starting to give. The great thing about the house is that we're able to do the roof in sections instead of having to get it all done at once. We also took Andy's advice and went with a dark gray shingle instead of the brown, which is going to look fantastic when the whole thing is done.

To start, they brought in a Skytrak to get the shingles up onto the roof, cause carrying them up a ladder is way old school.


We were planning on starting on Saturday, but it called for rain all day, so we decided to do the tear off on Friday evening instead. I'm glad we did - that split the job up into two days instead of one long day.

Larry determined our starting point based on where the garage met the house, then we grabbed our tear off tools, and started pulling up the first layer.


You can see the layer underneath was in bad shape, hence them adding a layer on top. We worked our way down with narrow rows of shingles so they'd be easy to toss into the dump trailer, but then we got what Larry referred to as a "super roll" going - which although effective and quick at the time, pulling it apart to toss over the side was not as fun.

We moved onto the second layer, and the tar paper underneath, and started discovering the weak points.

 
There were several spots where the plywood had separated from the nails, and created some gaps, but most didn't appear to have any water damage. Then we found the spots.


This was about halfway up, and maybe 4 square feet, just enough to be problematic. The other was near the edge of the roof, and not quite as bad, and not really worthy of  a photo. The whole tear off took maybe 2-3 hours, which was pretty amazing. We called it a night and started in again bright and early Saturday morning.

Saturday - 9am. Not super early, but I'm not standing on a roof at 7am - I need to be awake and have some balance before I get up there. \

For both weak spots, we broke out the circular saw, set the depth to 1/2", and cut it out. The one above we cut to be 4'x4', just to be sure we got all the rotting, and the other was about 2'x8', so we could use one 4'x8' sheet and patch both holes using a pneumatic nail gun.


We then took the nail gun around and inspected all the other seams and made sure any that were popped out were nailed back in place.


Once the base was all secure, we rolled out a couple rows of ice and water shield at the edge of the roof, and DiamondDeck underlayment on the rest using staple hammers, which are awesome, and although I have no reason to own one, I still want one.


Larry added the drip edge around the perimeter, and then it was time to start laying shingles. The first row is no fun, since I hate being on the edge, even when it's only 6 feet to the ground (because of the berm on the side of the garage), but once we got the initial row out of the way, just like flooring, it was a breeze.

To start, I had to cut a couple of starter sets using the 6-12-18-12-6 rule, where I would cut a shingle at 6", and put the two pieces in separate piles, then the next at 12", and so on. That way the seam is staggered as you move down the roof, instead of having the seam in the same place every other row.


We had two nail guns, and the shingles have this blue line on them to show you exactly where you should place the nail, and again, just like flooring, the outer nails should be close to the seam, and then two more in the middle, so each full shingle gets 4 nails. Before I knew it, we were done.


The worst parts of this project were the tear off and the clean up afterward, as a result of the tear off. Applying the roof was actually quite fun, and although I was sore, it was way worth it. I love that the new shingles mute the siding, making it more gray and less tan. The shingles are also double thick and the color varies, so it hides dips in the framing more than the brown did.

Overall we're very happy with it, and can't wait to get the rest done, but it will have to wait till next year!

Friday, August 15, 2014

0 All the Small Things 2014

With all the big DIY stuff outta the way, and the big hire-it-done things on the way, we're starting to focus on the smaller things around the house, and this past week was all about closets and lighting.

We had always planned on doing something with the bedroom closets, but we weren't sure what. Originally, two of them had the wire Rubbermaid shelving that somehow continues to be the most popular solution, and mirrored sliding doors. Neither were our style - they reminded me of the apartments on campus.


I didn't want to spend a fortune on closet systems just because I didn't like the look of the norm, but I also didn't know how to design the closets so that they would be most efficient as the kids grew up and not have to change them again and again.  So I started with just basic shelving and a curtain rod in the new nursery.

I bought 8' 1x2s and 8' x 16" x 3/4" white melamine shelf boards, mimicking what I did in the pantry. I cut the shelves down to the right length using a circular saw and some painters tape - this was a trick I learned from our friend Dave (used to own a great bar called Jukes that really gave a good push to all the bands I was in the past 6 years) who told us that if you put the tape over the cut line, it reduces splintering and cracking when working with plywood or melamine.


I also bought just a basic primed bifold closet door system - the problem I had with the sliding doors, aside from the gold and mirrors, was that you could only access one side at a time. I like the bifold so you can get the full width of the closet at once.

Since we moved the changing table into nursery #2, we put the extra changing pad on Ollie's dresser, and I added a shelf in his closet, and with one board left, I added one in the spare room as well.


I love that all three closets already had lighting in them with switches. Much thanks to the original builder for those.

Speaking of lighting, this house has an unbelievable amount of lighting in it. Most of it we don't use because they're just your typical "nipple" lights, but I really believe that a great light fixture can make a room.

Our good friend Marisa reminds us why they're called nipple lights with this illustration:


Let's start with the music room.


Super old photo, I know, but it's the only one where I caught the old light. We were walking through IKEA, and walking through the lamp section looking for bedside table lamps, my eye immediately was drawn to this huge hanging shade, the NYMÖ, and I had to have it. The music room deserved to have a statement piece in it, and this was it. We bought the shade for $35, picked up a mini pendant light from Lowes for $18 (they sell mix-and-match, so you can buy the light without a shade), and we had an awesome statement piece.


Now for the entryway.


Again, super old photo, but here's one of the flush mount lights.

Probably 10 years ago, I found a pair of diner-style lights at a garage sale or thrift store or something - it's been so long I can't even remember. I bought them knowing I'd someday have a house worth putting them in,. so I've been storing them all this time, and they've been in the back of my mind through this whole renovation process. Originally, the chains were long enough to hang down nearly 3 feet, but because we don't have raised ceilings, I just took out all but two links and it worked perfectly.


And lastly, there's been a light above the stairway that we never use, and with the new look of the stairs, and how that was designed with that big open atrium, it also deserved a cooler light.


Once again, we bought a hanging light about a year ago that I'd been holding onto, looking for somewhere to put it, and now that the railings were in, I was able to actually put the Little Giant on the stairs and reach this junction box without fear of the ladder slipping. I can't recommend this ladder enough - they have them on Woot all the time for much cheaper, but honestly even if you pay full price, it'll be worth it. You can climb both sides, the sides raise up independently (so you can use it on uneven surfaces, like STAIRS!), and it folds completely out so you can use it as an extension ladder. This is not a sponsored post, I just love the damn thing, and it makes jobs so much easier.


Usually I don't use touched-up photos on here, but with the window, it was really hard to get a clear image of the light without boosting some highlights and contrast. The clear glass and Edison bulb are great. Again, the chain was too long, but we opted to add a hook to shorten it up, since the location of the junction box was not ideal anyway, and gave us a chance to better center up the light in the opening.

Now, if the rain holds out, we'll be roofing the band garage tomorrow, and hopefully adding some very cool chandeliers using the drum shells I picked up for super cheap on Craigslist. Stay tuned!


Monday, August 11, 2014

0 How Can a Floor Be A Wall?

When we first bought the house, the master bedroom and hallway was all just subfloor, and what is now Ollie's room had just some old tight weave carpet. The other two rooms had a laminate flooring that was still in really good shape, just wasn't our style.


Since it was a floating floor, and the planks were just snap-together, it came up really quickly and easily. We were also in the very early stages of the house, so I was still in keep-everything mode, in case salvaged materials could be used in other areas of the house.  I stacked all the planks in the garage for later use.

In November of 2012, I had decided to create an accent wall in the band garage using the laminate. Having seen tons of photos of people doing it with pallet boards or reclaimed barnwood, I thought the laminate would look great and go up easily without much hassle.

My first mistake was starting at the ceiling. Since the garage slopes, I thought the best way to get the boards straight would be to start at the top of the drywall where it would be (mostly) level. The biggest problem with this plan is gravity - trying to snap into place while the plank wants to fall to the ground. The second problem was not understanding what to look for when judging whether a plank's tongue or groove has been damaged. Many boards had a tongue stuck in the groove, preventing a board from being snapped into it, so I spent a good amount of frustration trying to dig those out using a hand miter saw.

Because of this difficulty, and other projects taking precedence, the room looked like this until recently:


It was an impressive amount completed, but I hated doing it so much that I just stopped. Then, the roof started leaking. Mold began to form. It was a problem. So this past week, with Becky pushing me to get it done, I tore the wall down completely to make sure there was no mold behind the wall.


I had forgotten how much I enjoy destruction, but watching Rehab Addict had made me quite jealous of that feeling of having a room down to its bones. It was only one wall, but it was a great feeling.

The drywall before was actually right to the floor, and from the flooding before, it had been damaged. I decided to instead just go to the height of the landing around the outside and then do some super tall treated baseboards in case that were to happen again.

I also hung the drywall vertically instead of horizontally. I know that's not the way you're supposed to do it, but it was quicker to just cut all the drywall sheets to 7', especially since I didn't need to tape or mud since I was just covering it up immediately.


Now, I should have used the next step to actually hand the drywall, but I instead just stacked some 2x4's to the right level and shimmed each sheet as I went along.

The next day I started on the laminate. Hanging the drywall would have been much easier if I'd thought of this before - for the first row of laminate, I screwed in a ripped 2x6 and some scrap 2x4's I had laying around, leveling each board to make sure my starter row was perfect.


I used Liquid Nails on each plank, and a Bostitch 18ga finish nailer with 1.5" brad nails, punching two nails into each stud.


I also clicked in each plank from the top and then used a 2x4 block and rubber mallet to tap it into the previous horizontal plank. There were a lot of difficult boards, but it went a TON faster not fighting gravity. Still, after 4 hours, I was only this far.


The next day I picked it up again, determined to complete the job. The hard part was over, and by this time any leveling imperfections between planks had been remedied, so it was smooth sailing. In just over 2 hours, I'd completed the job.


With only a few damaged boards in the bunch, the wall looks nearly seamless. I'm very happy with the results.

Monday, August 4, 2014

0 Beer Fridge Relic Refresh

A few weeks ago, I went out to the beer fridge in the workshop and all the beer was warm. The light was still on, the dial was up, but the fridge was just not keeping things cold. Not having time to deal with it, I just opened the doors to prevent mold, unplugged it, and ignored it.

Soon after, I was looking through Facebook, and a friend had posted a free, working fridge, and upon first sight, I jumped on it.


Vintage Westinghouse fridge, in perfect working condition, just cosmetic issues, all of which were easily addressed.  I wish I could have kept the vintage "Bud Man" stickers, but they weren't in great shape, and in pretty random places on the exterior, so they had to go.

This guy is really heavy, obviously, so in order to get it out of the car by myself, I quickly added some 3/4" plywood rails to the bottom and attached casters. There are holes for bolt-on casters, but I don't have any laying around, so I improvised with what I had.

I started by peeling the stickers off. The Bud Man and Superman stickers went well, but the iPod sticker was paper, along with the faded circular sticker in the center. Since the glossy enamel coating was still intact, I took the mouse sander to the entire front, obliterating the sticker residue and roughing up the finish enough to get a great surface for the paint to stick to. I should have done it to the whole fridge instead of just the door, but I was impatient, and didn't want to spend any more time on this than I had to.


I took some Scrubbing Bubbles to the exterior and with some serious scrubbing, all the staining on the top and sides came right off.

The next day, I went to Ace to grab a couple cans of glossy turquoise spray paint, and after walking the aisle several times in their new supposedly-all-inclusive paint section that they've been advertising, determined they didn't have anything close to what I needed. That evening, I had to go to Meijer to pick up some photos, and thought I'd just check out their selection just in case, and lo and behold, there was the perfect turquoise. Unbelievable that "Thrifty Acres" had exactly what I needed, and "The Helpful Place" did not.

Now that I had the paint, I set forth to taping everything. I had originally thought I would just tape the emblem and handle and call it good, but the embellishments on the front were just too cool to not highlight.


I really took my time making sure that the lines were perfectly straight. Also a note here about painter's tape - don't buy generic blue tape. EVER. I made that mistake once when working on our last house, and the only tape that gets clean lines consistently is 3M's version. That being said, I've never tried Frog Tape, but I would assume they do a great job as well, just no generic blue tape - you'll regret it.


The first coat made me glad I'd decided to highlight the lines. It was too much turquoise without them. I was so excited to pull the tape off and take a look, but it needed another coat. You'll notice I didn't drop cloth - fear not, there's so much dirt in our garage, it acts like a drop cloth. We've been waiting for our driveway guy all summer to fix it so sand doesn't get washed into the garage every time it rains, but keep getting pushed back.

A second coat and I was able to pull the tape off.


Gorgeous, right? After it dried, it didn't end up as glossy as I expected, but it still looks great. I was also going to paint the lines a clean white, but I like the roughed up look, so I'll probably just throw a clear protective coating to prevent rust, since I'm down to the bare metal at this point.

So this month is experiment month, see if our electric bills shoot up like crazy for having this thing running, but so far it doesn't seem to kick on that often, since we don't open it nearly as often as a normal fridge. Here's hoping it's not an issue!


The Wolven House Project Copyright © 2012