
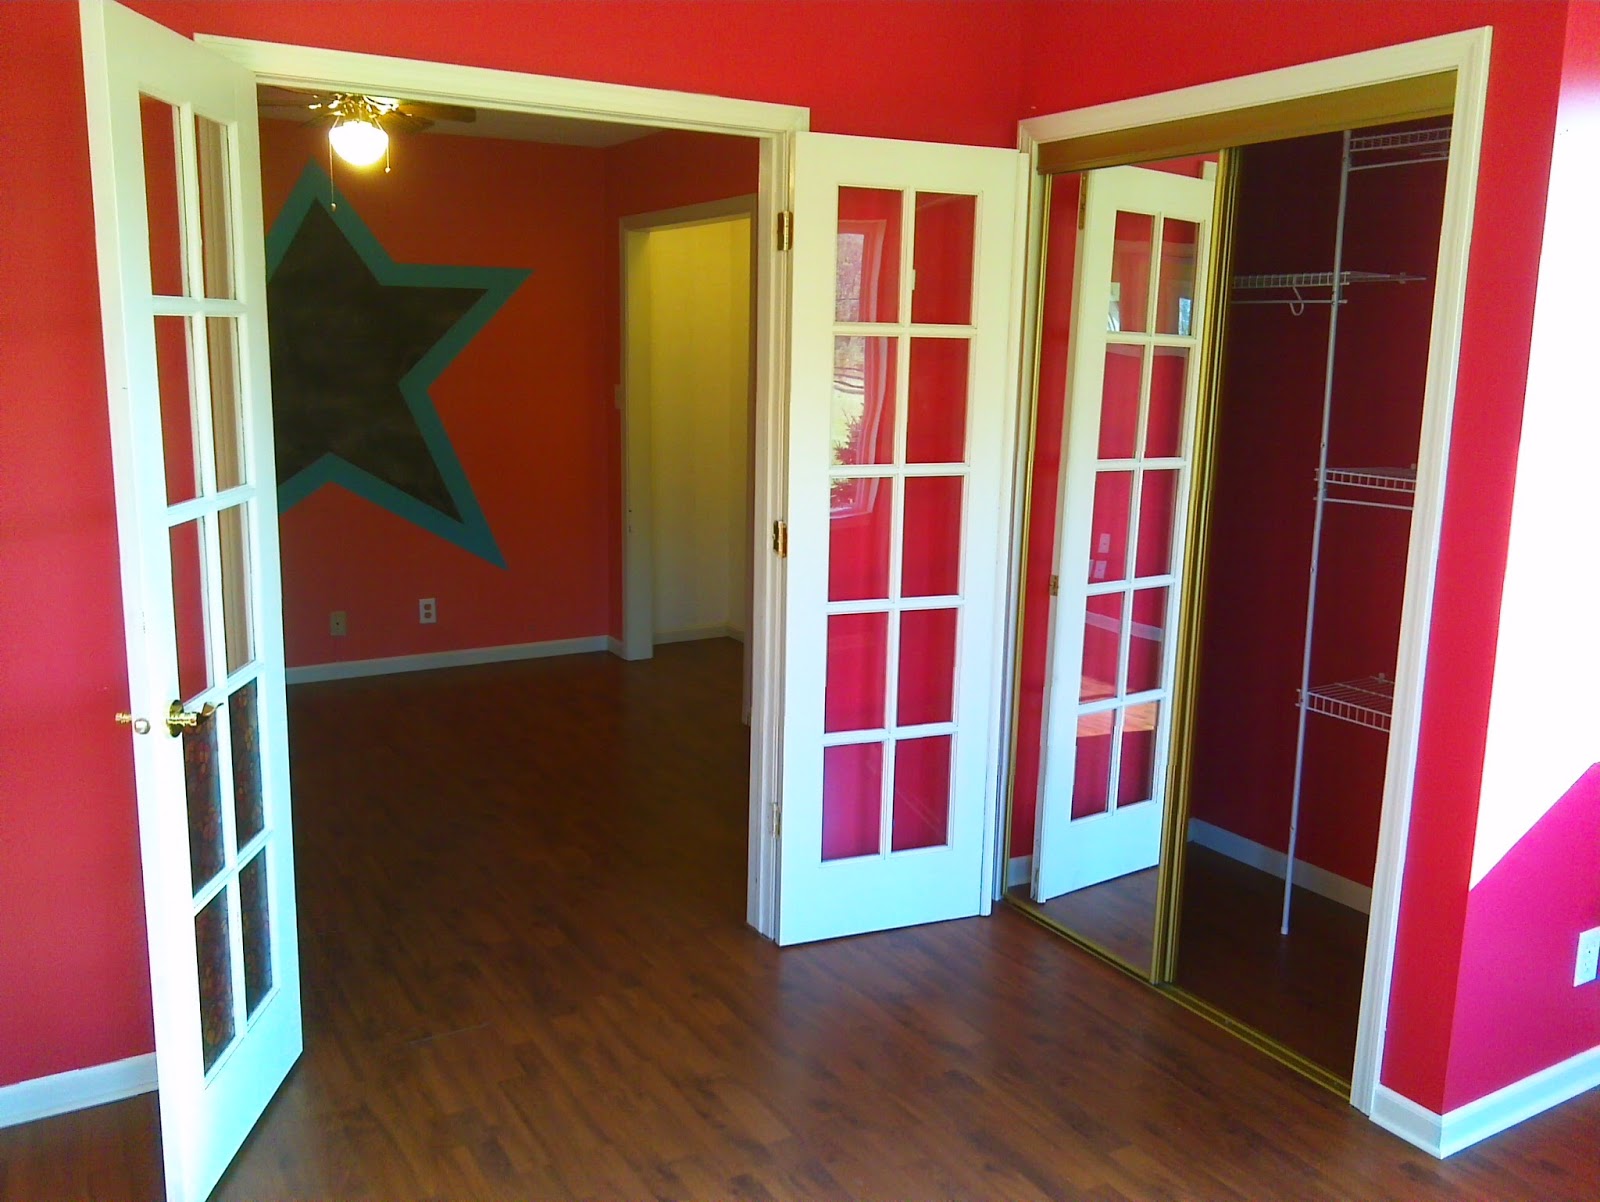
Since it was a floating floor, and the planks were just snap-together, it came up really quickly and easily. We were also in the very early stages of the house, so I was still in keep-everything mode, in case salvaged materials could be used in other areas of the house. I stacked all the planks in the garage for later use.
In November of 2012, I had decided to create an accent wall in the band garage using the laminate. Having seen tons of photos of people doing it with pallet boards or reclaimed barnwood, I thought the laminate would look great and go up easily without much hassle.
My first mistake was starting at the ceiling. Since the garage slopes, I thought the best way to get the boards straight would be to start at the top of the drywall where it would be (mostly) level. The biggest problem with this plan is gravity - trying to snap into place while the plank wants to fall to the ground. The second problem was not understanding what to look for when judging whether a plank's tongue or groove has been damaged. Many boards had a tongue stuck in the groove, preventing a board from being snapped into it, so I spent a good amount of frustration trying to dig those out using a hand miter saw.
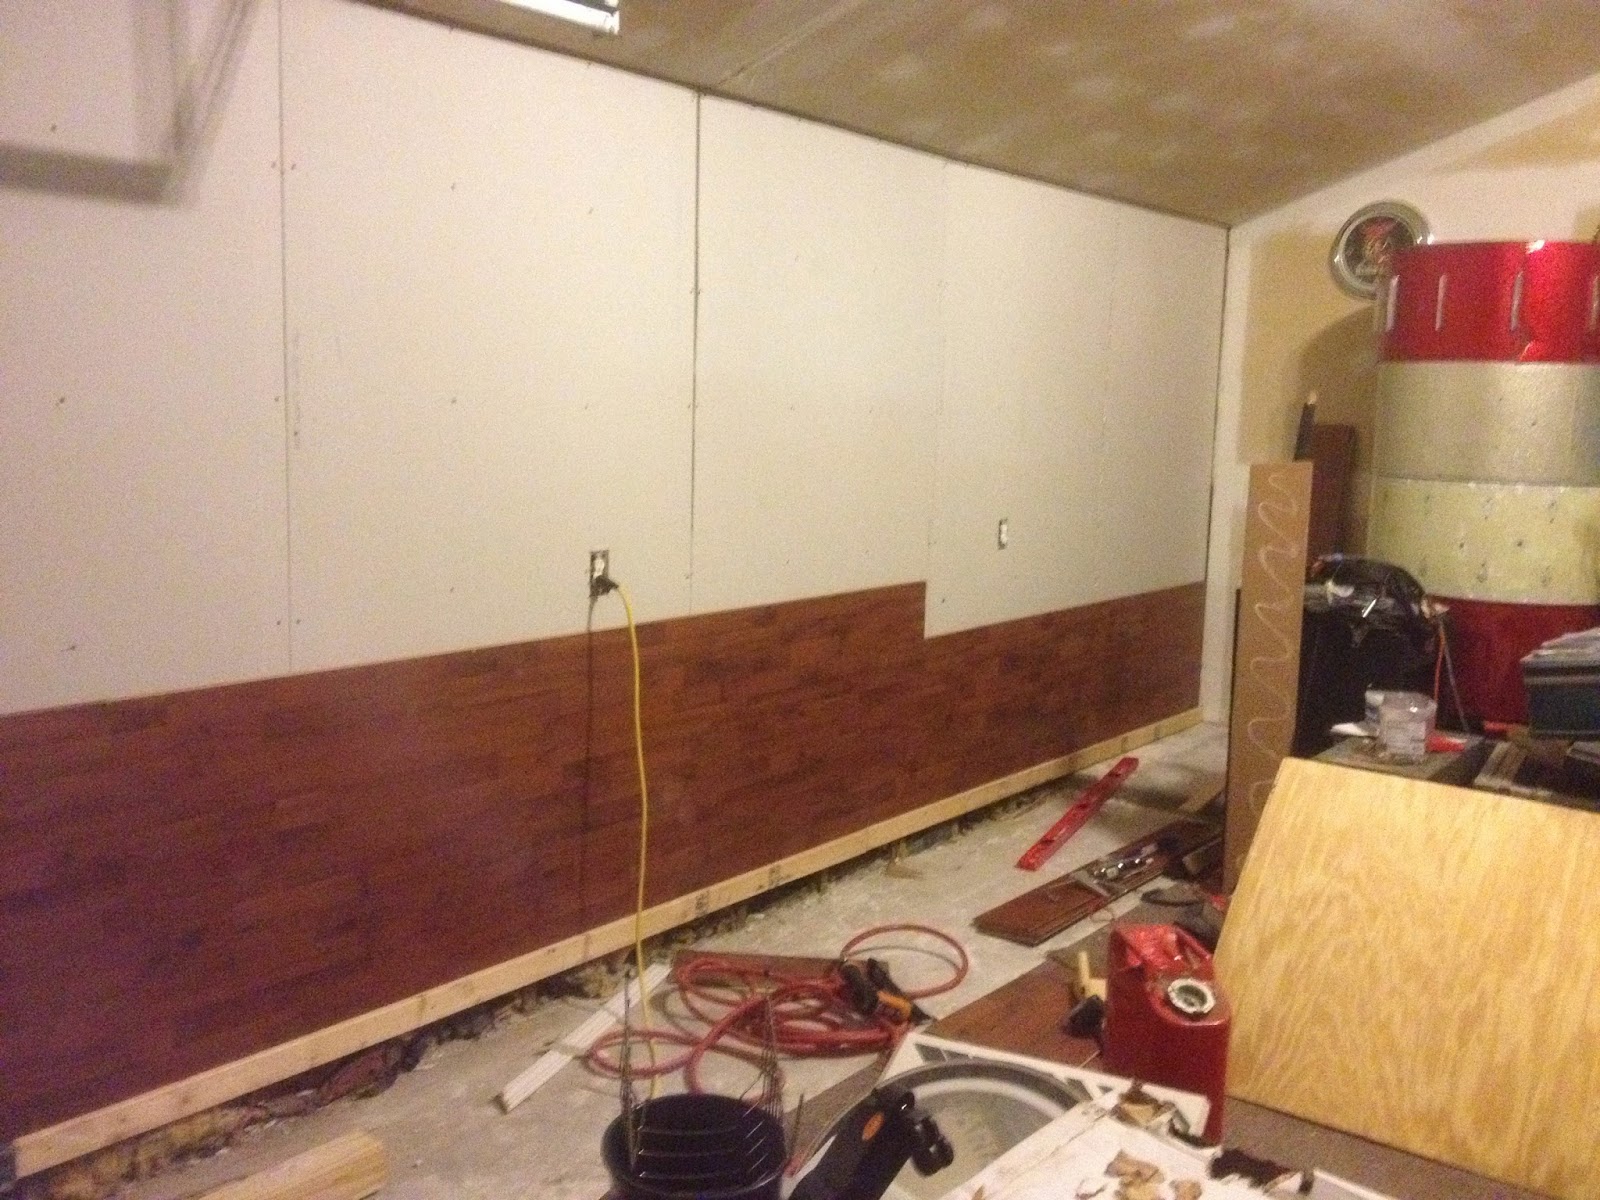
Because of this difficulty, and other projects taking precedence, the room looked like this until recently:

It was an impressive amount completed, but I hated doing it so much that I just stopped. Then, the roof started leaking. Mold began to form. It was a problem. So this past week, with Becky pushing me to get it done, I tore the wall down completely to make sure there was no mold behind the wall.

I had forgotten how much I enjoy destruction, but watching Rehab Addict had made me quite jealous of that feeling of having a room down to its bones. It was only one wall, but it was a great feeling.
The drywall before was actually right to the floor, and from the flooding before, it had been damaged. I decided to instead just go to the height of the landing around the outside and then do some super tall treated baseboards in case that were to happen again.
I also hung the drywall vertically instead of horizontally. I know that's not the way you're supposed to do it, but it was quicker to just cut all the drywall sheets to 7', especially since I didn't need to tape or mud since I was just covering it up immediately.

Now, I should have used the next step to actually hand the drywall, but I instead just stacked some 2x4's to the right level and shimmed each sheet as I went along.
The next day I started on the laminate. Hanging the drywall would have been much easier if I'd thought of this before - for the first row of laminate, I screwed in a ripped 2x6 and some scrap 2x4's I had laying around, leveling each board to make sure my starter row was perfect.

I used Liquid Nails on each plank, and a Bostitch 18ga finish nailer with 1.5" brad nails, punching two nails into each stud.

I also clicked in each plank from the top and then used a 2x4 block and rubber mallet to tap it into the previous horizontal plank. There were a lot of difficult boards, but it went a TON faster not fighting gravity. Still, after 4 hours, I was only this far.
The next day I picked it up again, determined to complete the job. The hard part was over, and by this time any leveling imperfections between planks had been remedied, so it was smooth sailing. In just over 2 hours, I'd completed the job.

With only a few damaged boards in the bunch, the wall looks nearly seamless. I'm very happy with the results.


